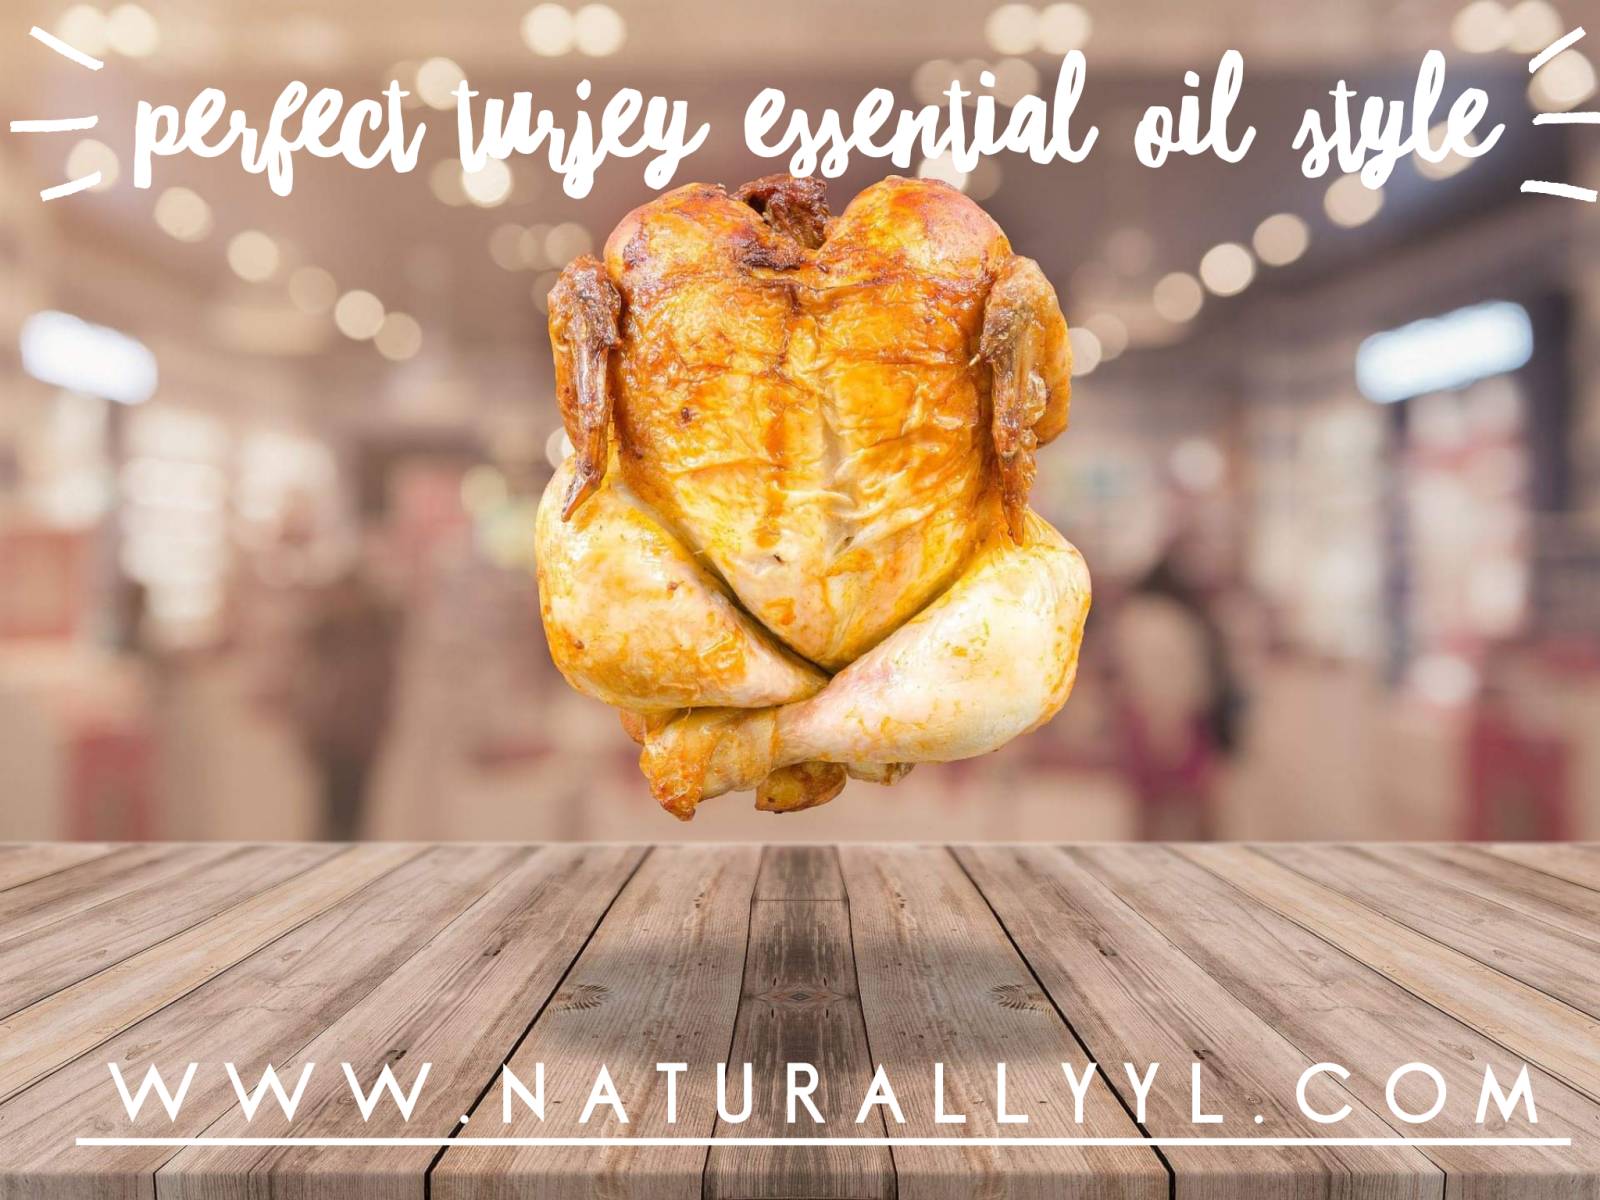
Last week I shared some tips and tricks for using Vitality Essential Oils for cooking but now I want to share the by far best way to cook your turkey this Thanksgiving using your vitality essential oils a few other secret tips :)
First things first: To Brine or not to Brine
Do you want your turkey to be super juicy and full of flavor? I am sure no one here wants a dry turkey like the Griswold Family had in National Lampoon's Christmas Vacation. So I love to brine my turkey for about 24 hours in Simply Organics Turkey Brine. By taking this extra step you are marinating your bird which will help it stay juicy and actually cook faster.
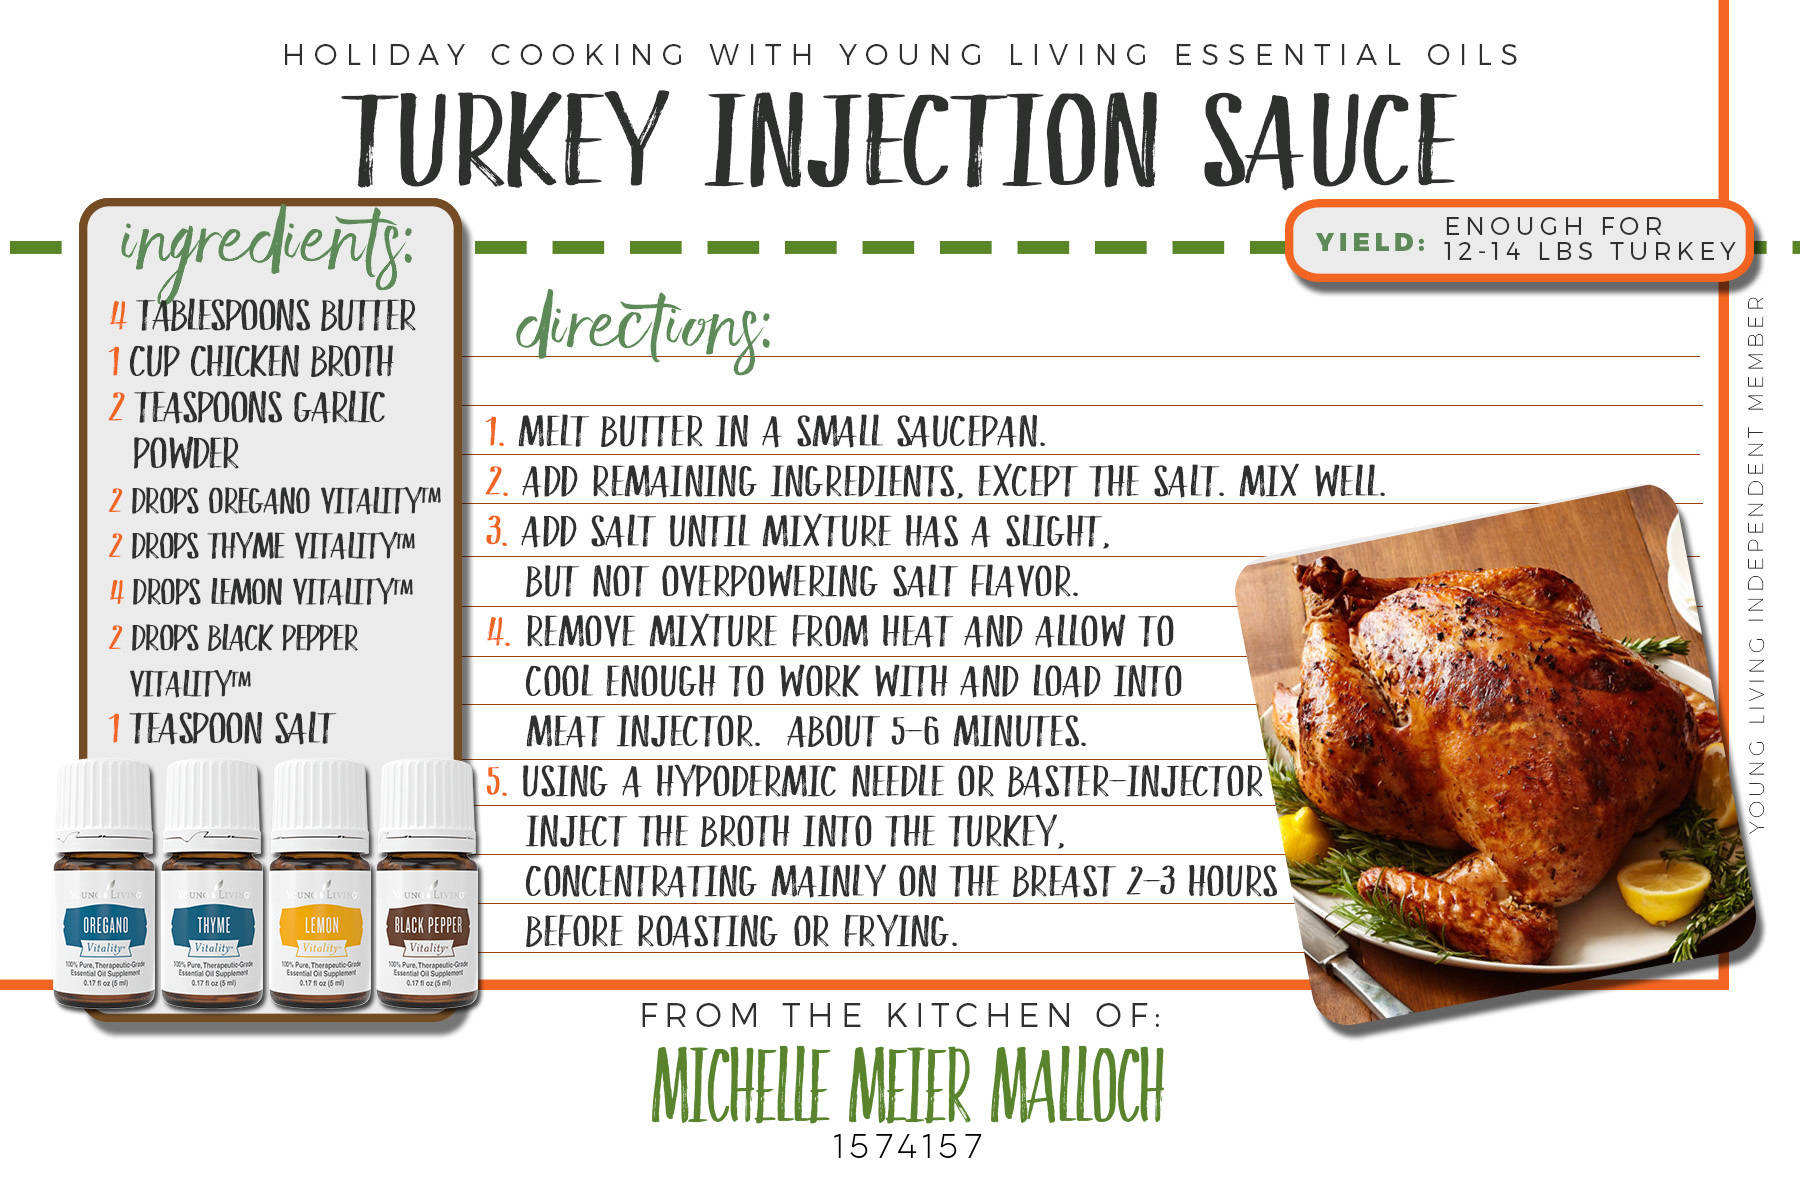
Turkey Injection Sauce
The next important step is to make this delicious oil infused turkey injection sauce. This recipe is super simple and has a few of my favorite Vitality Essential Oils that I love to cook with such as Oregano Vitality, Thyme Vitality, Lemon Vitality and Black Pepper Vitality. Now if you don't have a fancy injector you can use another method. (Picture me saying this in my best Julia Child's impression) Buttering the breasts! Yes this one you kind of have to get a little personal with your bird but its worth it :) Simply separate the skin from the breast and rub the butter mixture all over the turkey breasts.
Best cooking tip ever!
Now I have to share my super secret cooking tip for the best turkey ever! I am not generally one to order anything from an infomercial but the Turbo Turkey Roaster is hands down the only way I will cook a bird for the big day! It is basically a glorified mason jar with a metal straw but this little contraption actually steams the turkey from the inside, helping to reduce cooking time to half and keeping the meat juicy. I know you might be a little skeptic here. Frankly I was too and the first time I used it I put the turkey in super early because I did not think it would cook it in such a short time but it did and I will never be without it.
Now that may seam like a lot of work but let me tell you it is all worth it! This is my tried and true method of cooking the best Turkey ever!! Happy Cooking!

I love to cook and when I have time I love to cook everything as close to "scratch" as I possibly can. This way I know what is in the food I am eating and serving to my guests this holiday season. But did you know you can use your vitality essential oils to infuse delicious flavor into your Thanksgiving dinner and every meal?!
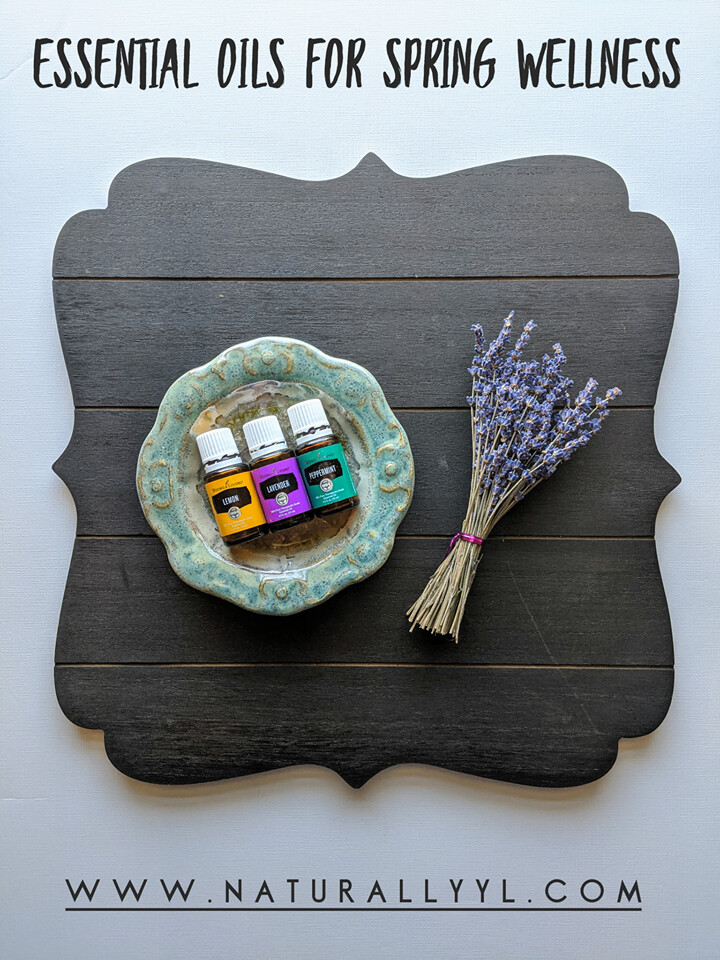
So what are Vitality Essential Oils?
Vitality essential oils are essential oils that are specific for dietary consumption so you can rest assured they are safe for ingesting and cooking with. They make it easy to add delicious, bold flavors to your homemade dishes, deserts and even drinks! These dietary essential oils have the same bright, fresh flavor as the herbs and citrus fruits from the market without the chopping, mincing, zesting, or juicing. You don't need to worry about wilted herbs or spoiled fruit, your vitality oil have a long-lasting shelf life.
Vitality Oil Conversion Chart
1 Citrus Fruit, Juiced = 10-15 drops vitality oil
1 Tablespoon Herbs or Spices = 1 drop or less vitality oil
1 Teaspoon Herbs or Spices = dip a toothpick in the vitality oil, swirl the toothpick through the wet ingredients and mix.
Tips for cooking with Vitality Oils
- You can always add but can't take away so when experimenting, start with a small amount of essential oil ans gradually increase to get the flavor just right.
- Since essential oil flavor can dissipate, add the oil immediately before serving when possible.
- It's important that the essential oil's temperature doesn't exceed its flash point or it will begin to smoke as with any cooking oil. Avoid burning by lowering your stove-top temperature, blending essential oils with olive or avocado oil, or adding essential oils after the dish is removed from heat.
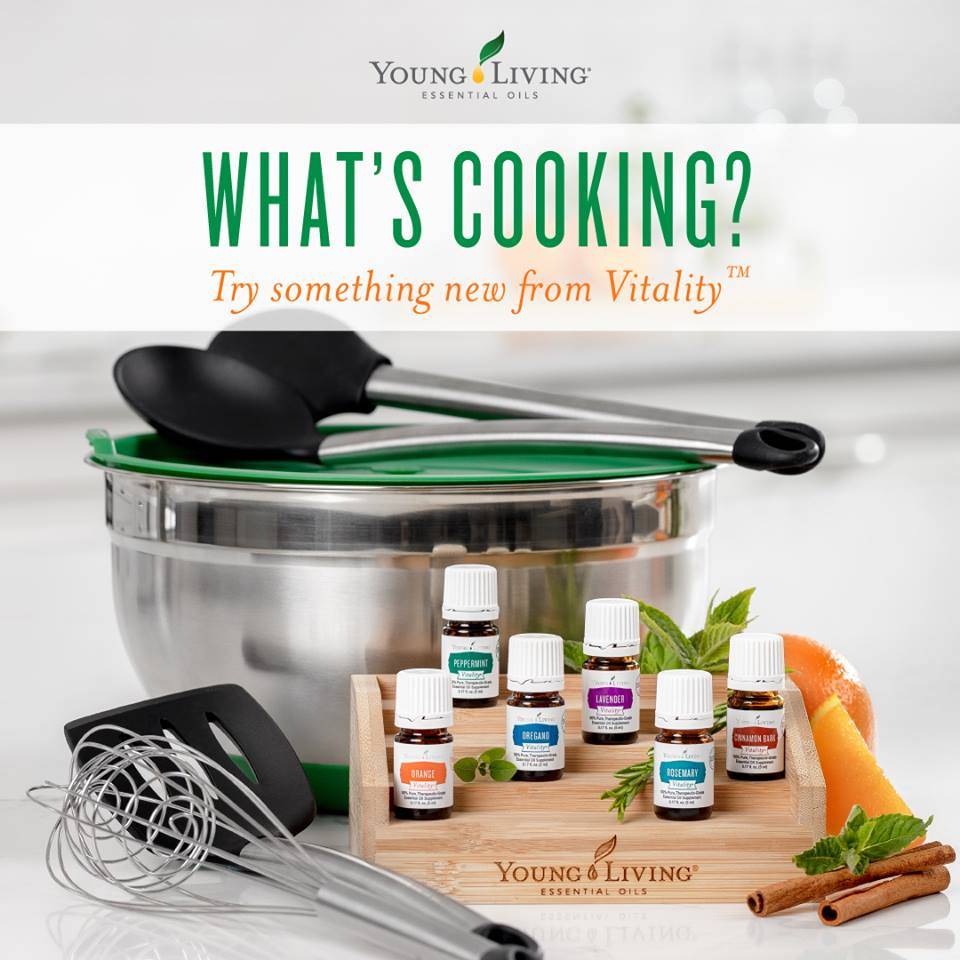
Vitality Culinary Set
This Holiday season Young Living is making it super easy for you to get started cooking with your essential oils with the Vitality Culinary Set. This set includes 5 ml bottles of Rosemary, Lavender, Cinnamon Bark, Oregano, Orange, and Peppermint Vitality essential oils with a beautiful oil rack that I have prominently displayed in my kitchen :) You also will receive a stainless steel mixing bowl, silicon utensils and a cookbook to help you get started.
Stay tuned for some of my favorite cooking recipes perfect for Thanksgiving!
Does the cooler weather have you reaching for that tube of lip balm? It sure has for me. As soon as the weather gets a little cool my lips get dried out and my hands feel like sandpaper. But did you know that most lip balms on the market actually dry out your lips more causing you to apply more and more lip balm? So before you apply let me share with you a few facts.
What’s hiding in your lip balm?
1. Petrolatum (petroleum jelly, mineral oil)
Petrolatum is made from petroleum. No that is not a typo. Petrolatum is the byproduct of the oil refining process for the same petroleum that is used to power our cars and is found in countless personal care products. It's a known carcinogen and has been linked to breast cancer.
2. Parabens
I am sure you have heard of these before but did you know that they actually are endocrine disruptors and actually mimic estrogen? Parabens have also been linked to female and male reproductive cancers. I don’t know about you but I don’t want my 3.5 year old applying something to her lips that mimics estrogen!
3. Fragrance
This is a bad one because of “Trade Secrets” companies do not have to tell you what chemicals make up the fragrance in their products. So you as the consumer have no idea what you are putting on your body and are breathing in.
4. Lanolin
This is an alcohol derived from wool. We all know alcohol is drying so why put this on your lips? Also if you are like me and get all itchy from wearing wool then you do not want to apply this to your lips or skin because you can actually have the same allergic reaction to it.
These are just a few of the ingredients found in the most commonly used lip balms but this is by no means a full list. There are many other hidden toxins that trust me you do not want to be using especially on your lips. Did you know that women eat about 5 lbs. of lipstick and lip products in their lifetime?! I don't want to be ingesting those nasty chemicals!
Solution: Read your labels or make your own
DIY Lip Balm
This recipe is super easy and makes a great gift for anyone who has lips :)
Here is what you need:
2 tbsp. beeswax
2 tbsp. coconut oil
2 tbsp. shea butter, coco butter or mango butter (any will work just fine)
15-20 drops of essential oils of choice
Directions:
1. Melt beeswax, shea butter and coconut oil in a double boiler or small glass bowl over a pot of boiling water, stirring constantly until melted. Turn off burner.
2. Add essential oils (Lavender, Frankincense or Thieves are some of my favorites). I recommend adding a few drops at a time and testing a tiny amount on your arm to make sure the scent is to your liking.
3. Once you've added the essential oils, fill the lip balm containers. This must be done quickly since the mixture will start to harden as soon as it is removed from the heat.
4. Let sit at room temperature for several hours until cooled and completely hardened before capping them. Make 13-14 tubes. (I get my containers here)
For those of you who see the word DIY and have a mild panic attack no worries you do not have to make your own lip balm. I personally have done both but seriously love the lip balms from Young Living. They are made without toxic ingredients but rather with natural safe ingredients like coconut oil, beeswax, jojoba oil, and essential oils :) For the holidays you can actually get a set of 4 lip balms that make perfect gifts :)
I absolutely love a good cup of warm tea when the weather gets a little chill in the air :) But did you know that tea can have benefits in a relaxing detox bath too? Who knew! I have been going through a heavy metal detox this past month and part of that process includes taking a lot of detox baths to help flush those metals and other toxins out. So you can imagine I have been getting a little creative and changing things up and trying out new recipes and this bath tea is a winner!
So why green tea for your bath?
We all know that green tea is super high in those free radical fighting antioxidants which help detox our body naturally but it is also great for relaxing muscles and is full of B vitamins that are great for leaving your skin feeling silky soft too! Green Tea contains the highest level of antioxidants because the tea leaves have not be fermented, making it a great super food full of health benefits.
Benefits of Pink Himalayan Salt vs. Epsom Salts in your Bath
While Epsom salts are an amazing source of magnesium that is soothing for sore muscles Dead Sea and Pink Himalayan salts are rich in many trace minerals. Dead Sea salts contain 21 minerals which include magnesium, calcium, sulfur, bromide, iodine, sodium, zinc and potassium. Pink Himalayan Salt contains 84 minerals and trace elements, including calcium, magnesium, potassium, copper and iron. Pink Himalayan is the purest salt mined in Pakistan deep in the Himalayan mountains so make sure what your are buying is the real stuff :)
Oats in the bath? Oh My!
Yes oatmeal has some amazing benefits when used in the bath too! Oatmeal can soothe dry itchy skin because the Polyphenols in oatmeal soothe the skin. It can also help calm dermatitis and eczema, relieve dryness, takes the itch out of bug bites and soothes bee stings, good for diaper rash, swimmers itch and for cleansing your pores making it perfect as part of a detox bath.
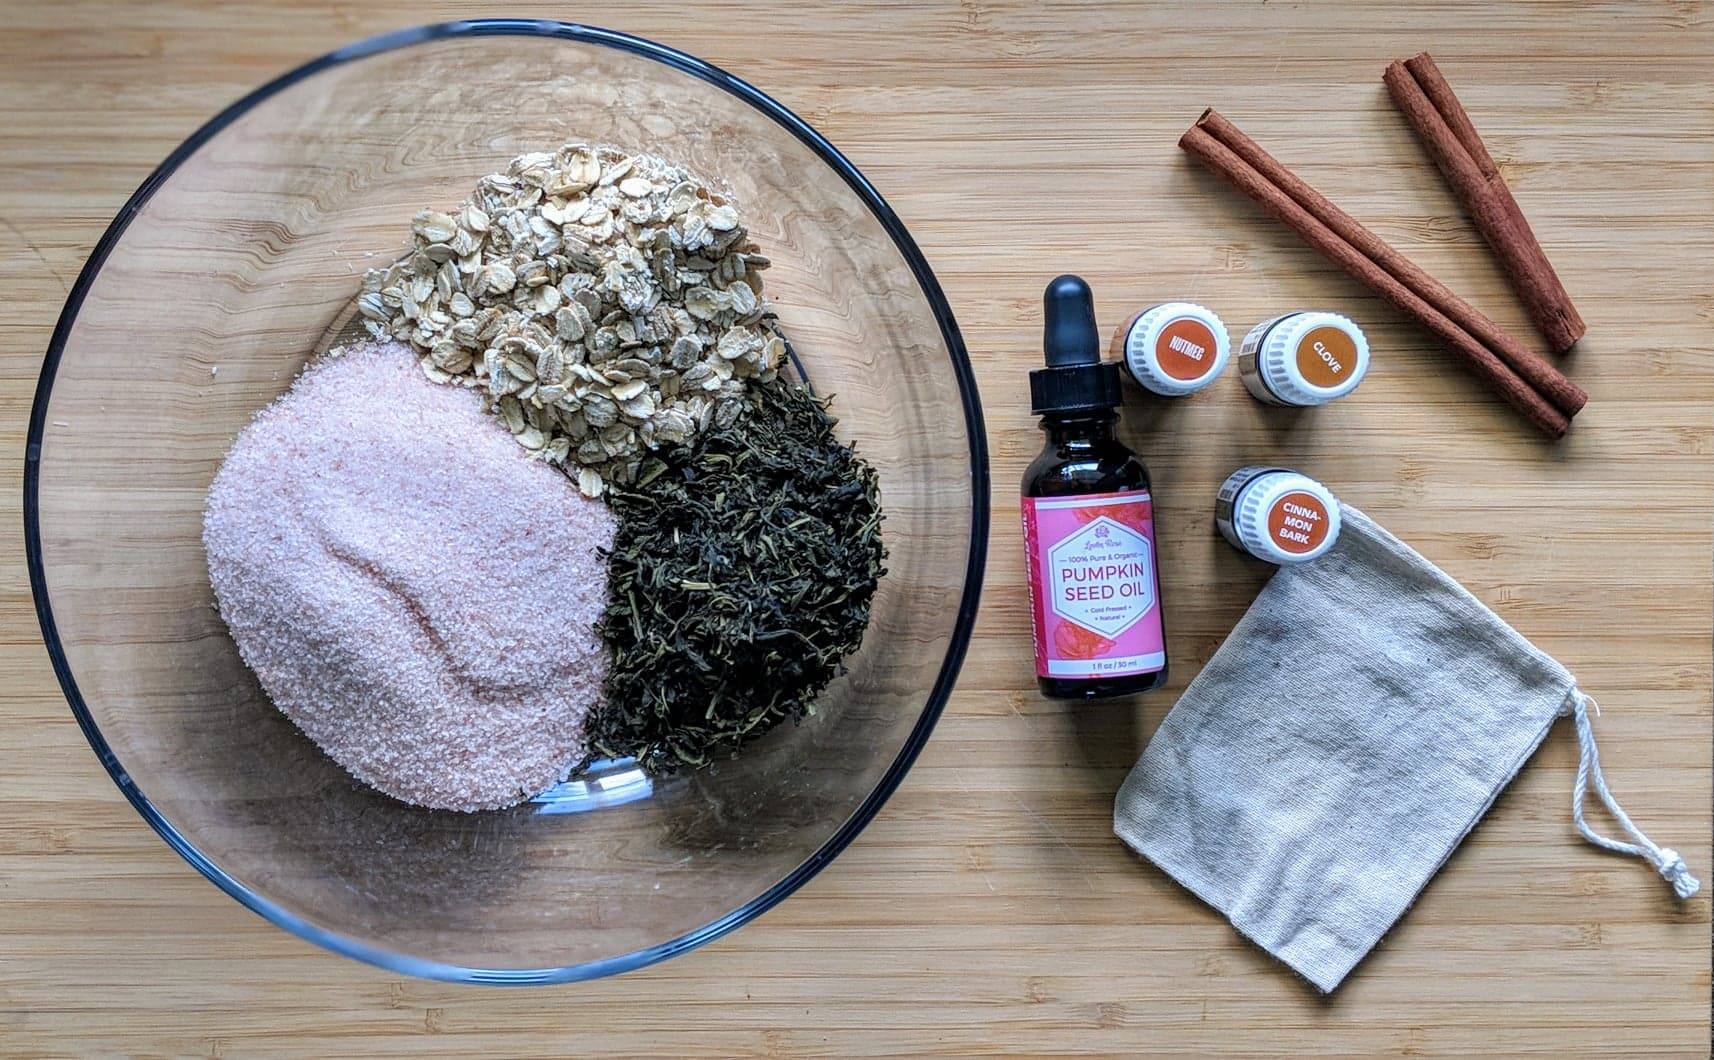
Here is what you will need:
1/2 cup Pink Himalayan Salt
1/4 cup organic green tea
1/4 cup organic rolled oats
1 tsp. pumpkin seed oil or sweet almond oil
4 drops Clove essential oil
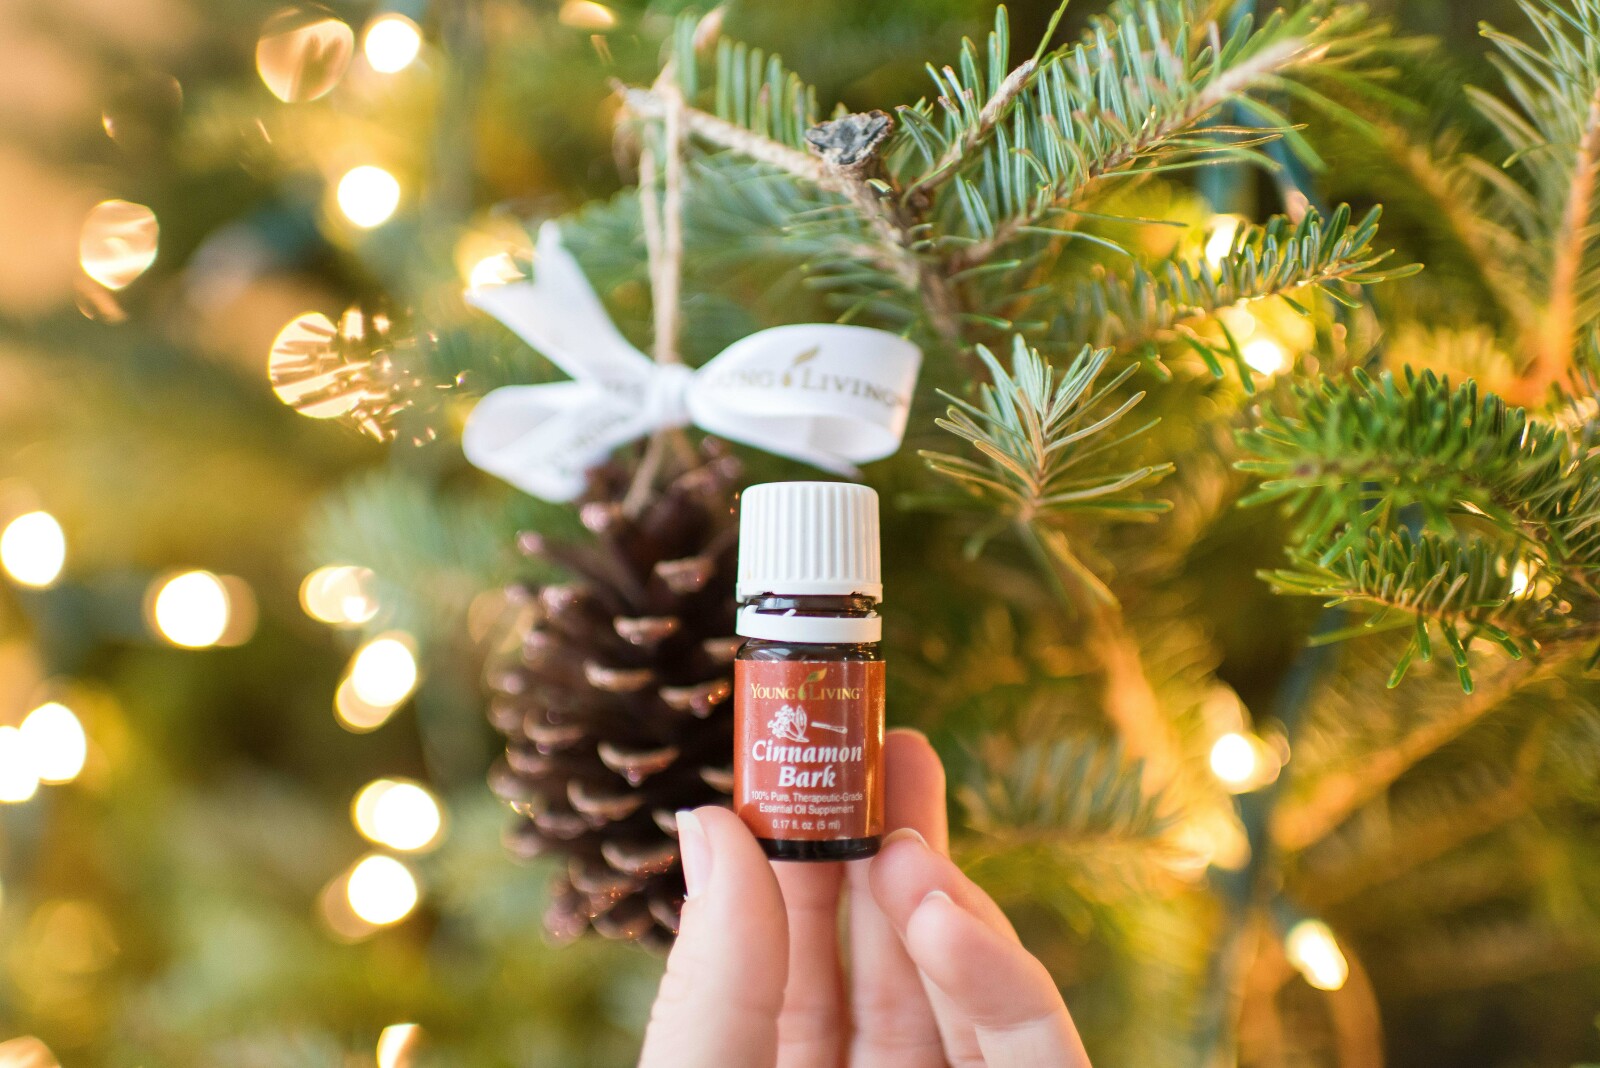
2 drops Cinnamon Bark essential oil
2 drops Nutmeg essential oil
small muslin bag
Recipe:
- In a large glass bowl combine salt, pumpkin seed oil and essential oils. Stir to evenly coat the salts.
- Add green tea and rolled oats and stir well.
- Store in an airtight container to keep fresh
- To use scoop 2 heaping tablespoons into a small muslin bag and securely tie. Fill the tub with hot water (the hotter the better for detoxing) and place bag in water. Soak and enjoy!
*From time to tie squeeze the tea bag into the bath to get all the tea and benefits of the oats into the bath water. The salts will easily dissolve on their own.
You can change up the essential oils in this recipe and experiment too :)
Want to learn more about staying healthy Naturally this fall?
Click here for some recipes and tips from me :)
Everyday we are exposed to many harmful chemicals and toxins that we unfortunately don't have much control over. While we CAN control the products we apply to our skin, supplements we take, what we clean our homes with and feed our families we cannot control the environment outside of our homes. So we need to help out a little so that we can remove these toxins from our bodies naturally.
What is Bioaccumulation?
Bioaccumulation is the accumulation of substances, such as pesticides, or other chemicals in an organism, human. When an organism absorbs a substance at a rate faster than that at which the substance can be excreted is has to find somewhere to go. Unfortunately because we were never meant to consume things like Glyphosate in our foods or apply Parabens to our skin our bodies do not know how to process them and ultimately store them our fat cells that surround our organs. This puts a strain on our body and the immune response.
What can I do?
First and foremost start reading your labels and choose natural, plant-based personal care products, cleaning products & supplements, eat organic and non GMO foods and detox your body. Over the past 5 years my family and I have switched over all of our products to Young Living. Their Seed to Seal guarantee is something I trust and I no longer have to worry about reading my labels because I know their products don't contain the chemicals and toxins.
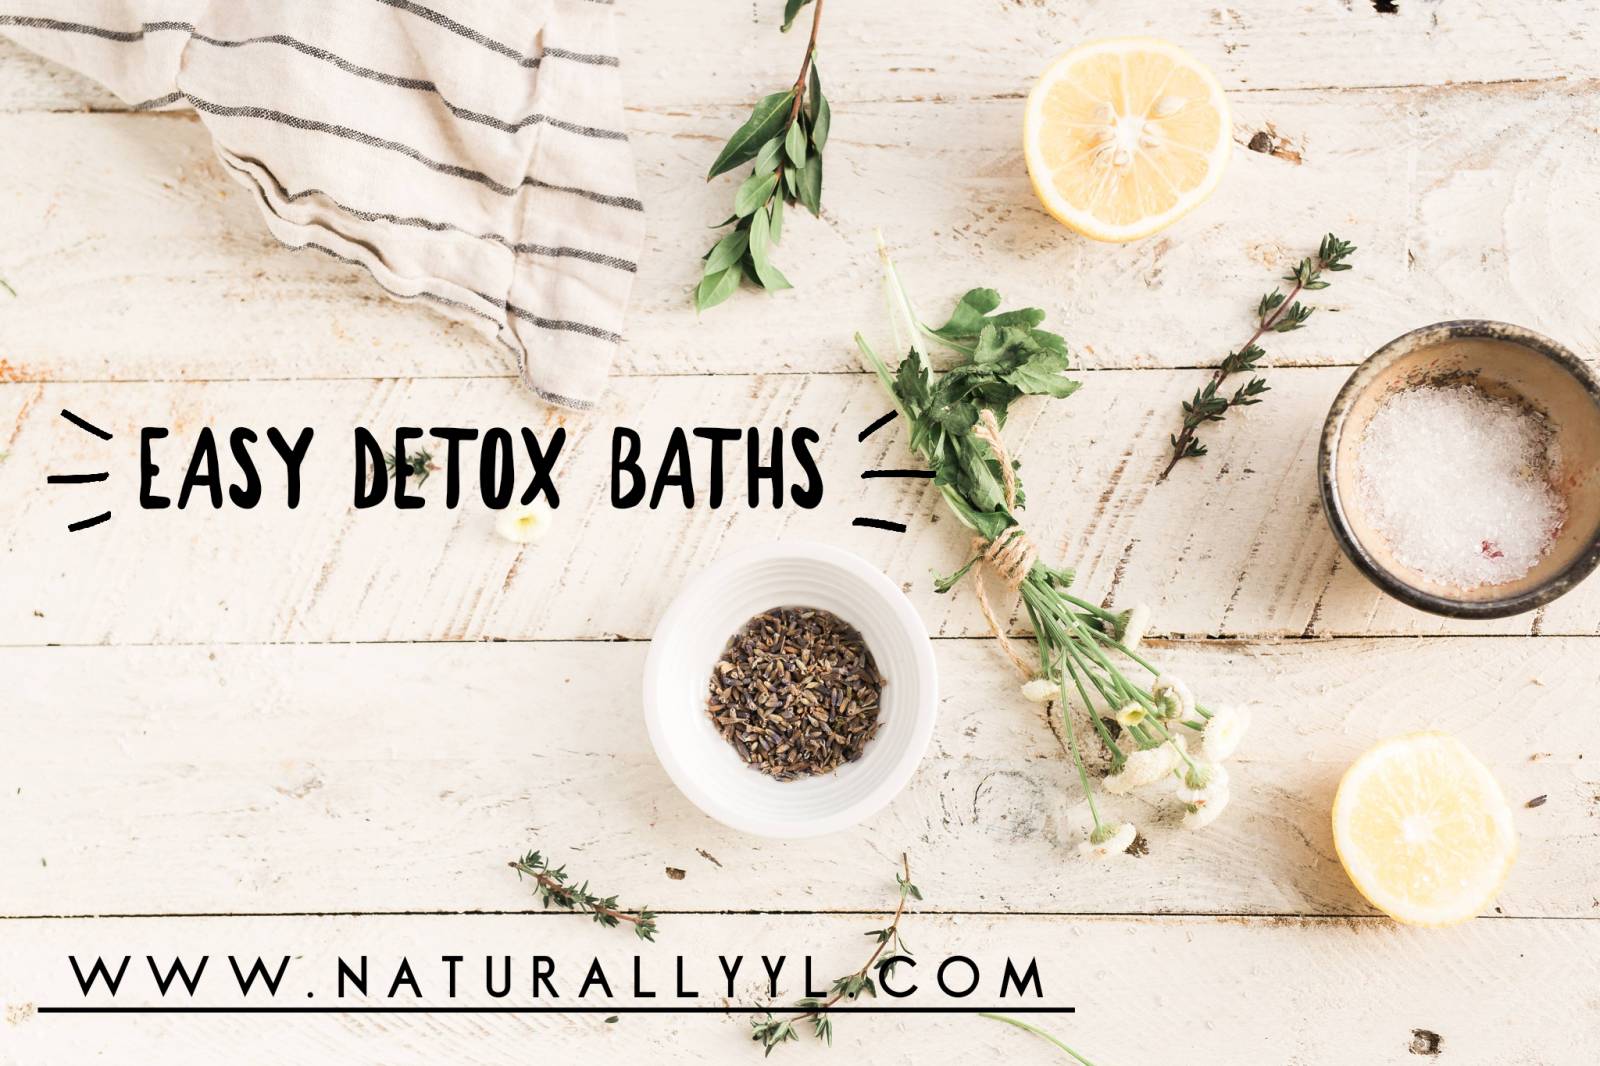
Help your body detox
Have you tried detox baths? This is a great way to help your body to eliminate toxins through the skin. Our skin is our largest organ so this is a great place to start. I love to do a simple detox bath with Epsom salts, baking soda and essential oils. The magnesium in the Epsom salts helps to reduce inflammation & support nerve, muscle and proper artery function. The sulfates are known to flush toxins and heavy metals from the body, which helps ease discomfort caused by muscle aches and pains. Baking Soda helps the body detox, alkalizes the body and helps to adsorb heavy metals.
What is Bioaccumulation?
Bioaccumulation is the accumulation of substances, such as pesticides, or other chemicals in an organism, human. When an organism absorbs a substance at a rate faster than that at which the substance can be excreted is has to find somewhere to go. Unfortunately because we were never meant to consume things like Glyphosate in our foods or apply Parabens to our skin our bodies do not know how to process them and ultimately store them our fat cells that surround our organs. This puts a strain on our body and the immune response.
What can I do?
First and foremost start reading your labels and choose natural, plant-based personal care products, cleaning products & supplements, eat organic and non GMO foods and detox your body. Over the past 5 years my family and I have switched over all of our products to Young Living. Their Seed to Seal guarantee is something I trust and I no longer have to worry about reading my labels because I know their products don't contain the chemicals and toxins.
Help your body detox
Have you tried detox baths? This is a great way to help your body to eliminate toxins through the skin. Our skin is our largest organ so this is a great place to start. I love to do a simple detox bath with Epsom salts, baking soda and essential oils. The magnesium in the Epsom salts helps to reduce inflammation & support nerve, muscle and proper artery function. The sulfates are known to flush toxins and heavy metals from the body, which helps ease discomfort caused by muscle aches and pains. Baking Soda helps the body detox, alkalizes the body and helps to adsorb heavy metals.
You’ll need:
½ -1 cup unscented Epsom salts
¼ cup baking soda
Essential Oils
Directions:
Mix together 1/2-1 cup of Epsom salts with 1/4 cup baking soda in a glass mason jar. Add essential oils to salts and mix. (4-8 drops)
Pour under warm/hot water (the warmer the water the more your pores will open to detox).
Soak for 30 minutes then rinse off in a cool shower after.
* May make you sleepy so use before bed and drink plenty of water after.
Here are some of my favorite essential oils to use in a detox baths
Wellness Detox Bath
Add 4-5 drops of Thieves essential oils to epsom salts
Sleepy Time Detox Bath
Add 4- 5 drops of Lavender or Peace & Calming essential oils to epsom salts
Breathe Deep Detox Bath
Add 4-5 drops of R.C. or Raven essential oils oils to epsom salts
To see more tips to support your body and immune system this fall click the link below
http://bit.ly/Natural_Health
To see more tips to support your body and immune system this fall click the link below
http://bit.ly/Natural_Health